


December is here and, whether you're ready or not, the countdown to Santa's arrival is officially on!
While some may be dreaming of R&R over the festive period, there's no downtime on my watch. No sir. In my household only 100% uptime will do! We've got a mountain of cash to raise for an important charity that means the world to me —and my Christmas display will be the engine driving it all.
So, I thought I'd have a little fun this year and make my Christmas lights Highly Available, using a Loadbalancer.org appliance to give my fundraising efforts a turbo-boost.

Now there are Christmas lights and there are Christmas lights. And my lights are not your normal twinkly lights. Mine are hundreds of individually addressable LED’s synced to music. After all, go big or go home, right?! And, as we know, the more complex things are, the greater the risk of downtime.
So how did I go about using our load balancers to make my light show Highly Available?
Santa's servers: The bare metal config
| PI / Component | CPU | RAM | O/S | Data Storage |
|---|---|---|---|---|
| Raspberry PI 3B FPPMaster | 1.2 GHz quad-core 64-bit ARMv8 Cortex-A53 CPU | 1GB | Falcon Pi Player | 16GB |
| Raspberry PI 3B FPPMaster2 | 1.2 GHz quad-core 64-bit ARMv8 Cortex-A53 CPU | 1GB | Falcon Pi Player | 16GB |
For this basic setup I needed to load balance the following port and services:
- Web UI: 80/tcp
- DDP: 4048/udp
- sACN/E1.31: 5568/udp
- FPP MultiSync: 32320/udp
Festive functionality: The WebUI
So let's start with the easy bit and work our way up from there...
The WebUI is used for configuring the system and uploading the sequences and music files.
- Log on to the Loadbalancer appliance WebUI
- Go to - Cluster Configuration -> Layer 7 - Virtual Services
- Click “ Add a new Virtual Service “
- Enter the details for this new Virtual Service [Label: L7-FPP-Webui / IP Address: <Floating ip> / Ports: leave as port 80]
- Click "Update"
- Add the real servers: click on Cluster Configuration -> Layer 7 - Real Servers
- Click on “ Add a new Real Server “ at the end of the L7-FPP-Webui row
- Enter the details for the Real Server [Label: RIP-FPP-Master1 / Real Server IP Address: <real server IP> / Real Server Port: 80 / Re-Encrypt to Backend: unticked / Redirect URL: Blank / Weight: 100]
- Click “ Update “
- Cluster Configuration -> Layer 7 - Virtual Services
- Click “ Modify “ next to L7-FPP-Webui
- Scroll down to the Fallback Server section
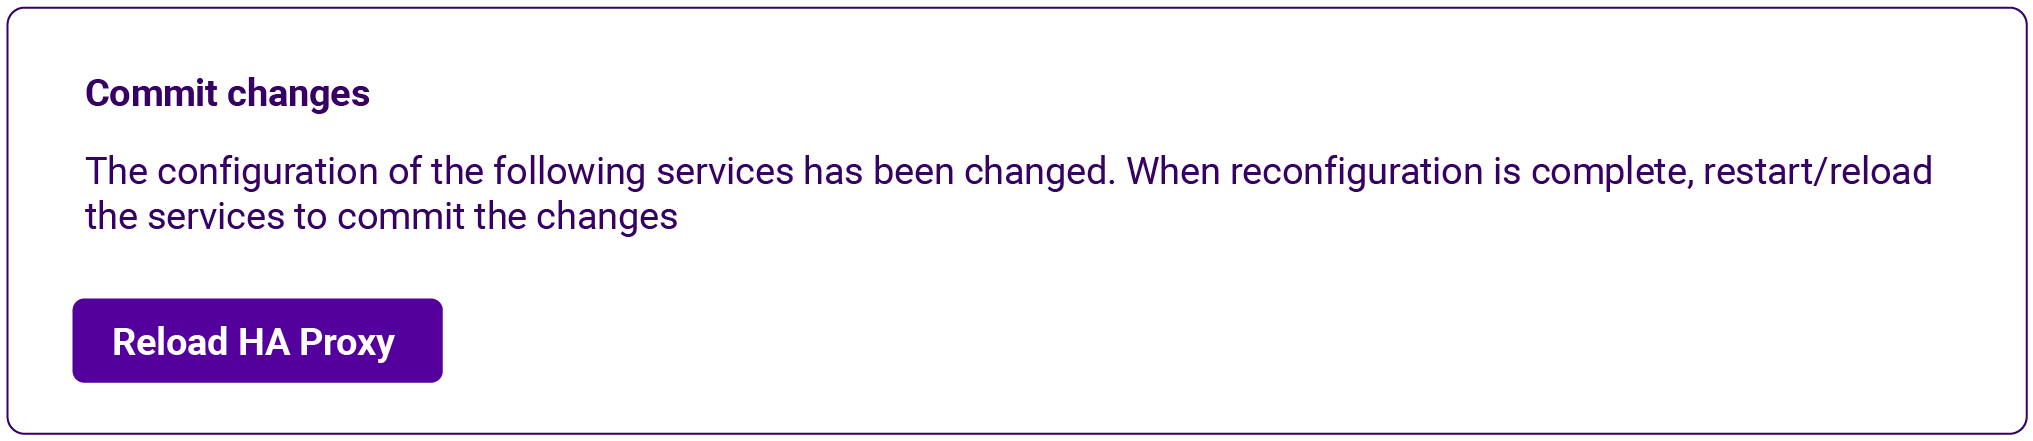
- Enter the details for the second real server [IP Address: <secondary Real server IP> / Port: 80 / Click "Update" / Finally click "Reload HAProxy":
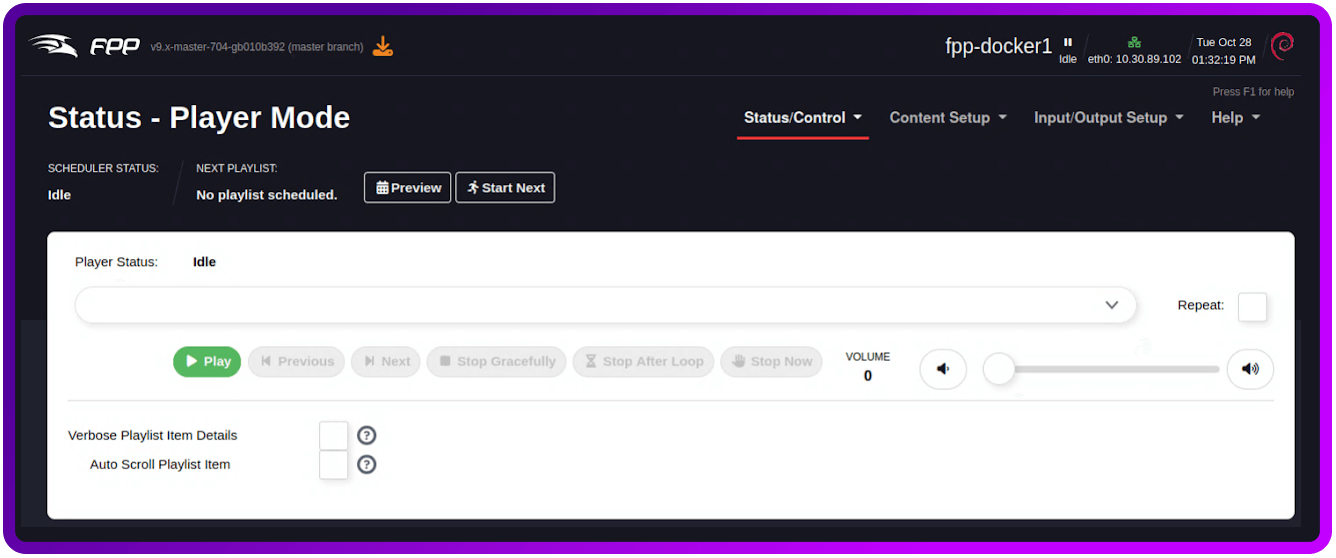
Now, if we head back to the System Overview tab you'll see my new service up and running:

But why only 1 Real Server, I hear you ask? Well, in this configuration I've created a service that will only send traffic to the second Real Server when the first one is down.
Jingle bells: Data services
For the last 3 services, I created Layer 4 Virtual Services.
These services are in charge of sending data packet broadcasts to the Light Controllers and also syncing data to Falcon Player like the one’s used on my Matrix.
- Go to - Cluster Configuration -> Layer 4 - Virtual Services
- Click "Add a new Virtual Service"
- Enter the details for this new Virtual Service [Label: L4-FPP-DDP / IP Address: <Floating ip> / Ports: port 4048 / Protocol: UDP / Forwarding Method: SNAT]
- Click "Update"
- Add the real servers - click on Cluster Configuration -> Layer 4 - Real Servers
- Click on “ Add a new Real Server “ at the end of the L4-FPP-DDP row
- Enter the details for the Real Server [Label: RIP-FPP-Master1-4048 / Real Server IP Address: <real server IP> / Real Server Port: 4048 / Weight: 100 / Minimum Connections: 0 / Maximum Connections: 0]
- Click "Update"
- Cluster Configuration -> Layer 4 - Virtual Services
- Click “ Modify “ next to L4-FPP-DDP
- Scroll down to the Fallback Server section
- Enter the details for the second real server [IP Address: <secondary Real server IP> / Port: 4048 ]
- Click "Update"
At this point I just need to do this again for the other two services and then I'm done.
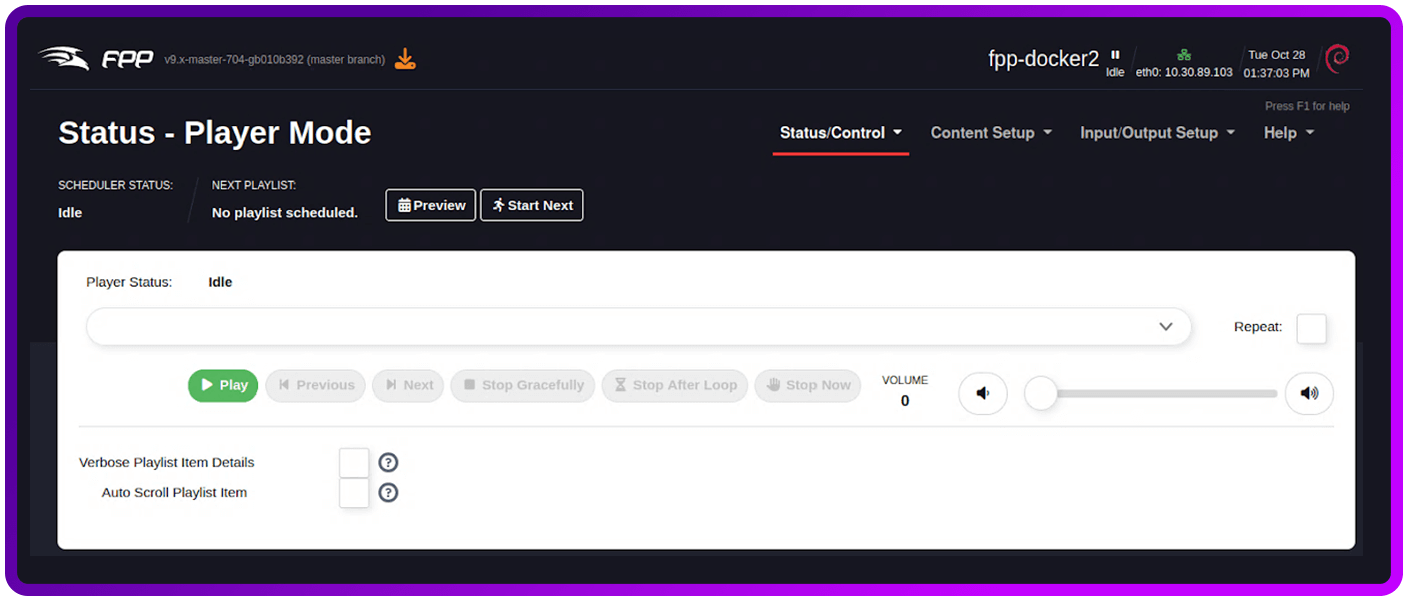
Now if I head back to the System Overview tab you'll see the new services up and running:

Now, similar to the WebUI, I'm utilizing a single Primary Real Server; however, I've configured a service to automatically failover and direct traffic to the Secondary Real Server only if the first one becomes unavailable.
It's Christmas!
Really apart from being a lot of fun, the main takeaway here is that no matter what you're trying to load balance, it's highly likely someone at Loadbalancer.org can help you with the use case you're looking at — no matter how weird and wacky! In fact, the weirder the better...
And if you've got this far and would like to reward my efforts with a donation to a vitally important charity, Bliss, that supported me and my family when my girls were born, you can do so here:
Donate to Bliss: For babies born premature or sick
Every donation, no matter the size, is deeply appreciated, especially during the Christmas season when some families are going through impossibly though times.
Ho, ho, ho and Merrrrry Christmas from all of us here at Loadbalancer!!