


I’ve had a fruitful weekend getting up to speed with oVirt the awesome virtualization platform founded by Red Hat. It’s been great fun getting to grips with it’s features making me quite jealous as I’m normally a Libvirt/KVM user, so seeing all the pretty and useful features available in this offering has been awe inspiring…
I took a look at it a few years ago and found it hard to get to grips with at first. This time however, I’ve not had that difficulty which has made it a joy to work with.
As always while geeking out I like to think how I might use this time to help Loadbalancer.org users. In this case I decided some quick concise instructions on how I uploaded the Loadbalancer.org appliance through the oVirt manager was in order because while it’s not difficult, it’s always nice to have a simple guide to follow.
So let's get started. First you will need to download the KVM version of the appliance as KVM is what’s used underneath oVirt. Assuming you’ve downloaded it already, extract it on your workstation and locate the “Loadbalancer.org_Enterprise_VA-disk1.qcow2” file ready to upload via the oVirt Virtualization Manager.
- Log into the oVirt Virtualization Manager.
- On the left hand side click “Expand All” then Storage >
- Click “Disks” on the bottom pane then “Upload > Start”.
- Click “”Choose File” and select the Qcow file on your local filesystem.
- Set the size to “8” GB, alias to an appropriate name like “LB1” and then press “OK”, expect to wait a while until completes.
- *Repeat steps 4 and 5 to upload the disk again for the slave appliance but using a different name such as “LB2”.
Note: You could instead upload it just once and create a template to deploy it multiple times, see below.
Once you’ve uploaded the master and slave disk images, the next stage is to create the Virtual Machine(s).
- Click “System” on the left hand side and select the “Virtual Machines” tab.
- Click “New VM” to open the new virtual machine window.
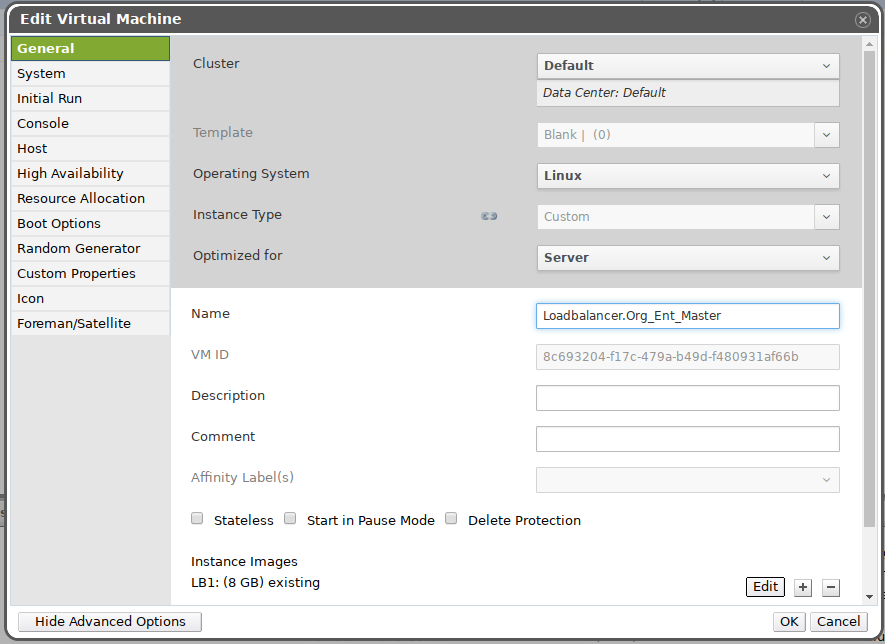
- Select the Cluster then the template(it’s probably best to select the default “Blank” template)
- Next set the “Operating System” to “Linux”, select the “Instance Type” and then set the “Optimized for” option to “Server”.
- Set the Name and description as required.
- Attach the disk “LB1” that we uploaded earlier, and then connect 1-4 NIC’s before clicking “OK”.
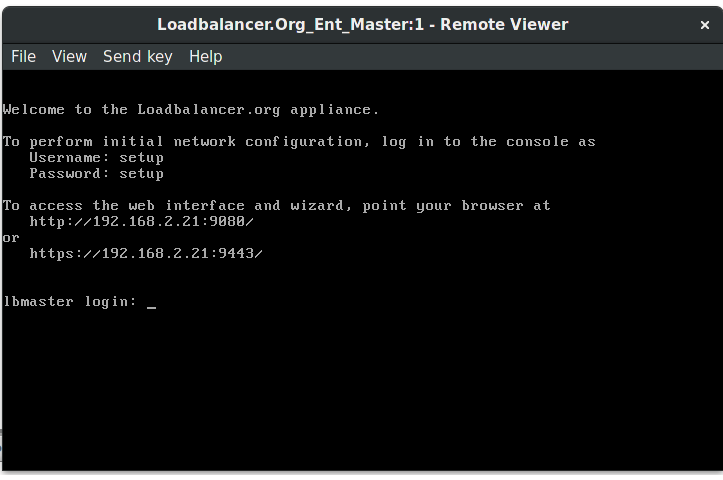
And that’s it! No special config needed as the KVM version of the appliance already has all the modules required to work in a KVM environment. The one thing I did notice that didn’t work at the time of writing was the “shutdown” option. You will need to shutdown and restart via the Loadbalancer WebUI or log in via the linux console. Alternatively, you can install the oVirt-guest-agent to resolve that problem as well as add better integration by using the following commands:
yum install https://dl.fedoraproject.org/pub/epel/6/x86_64/ovirt-guest-agent-1.0.12-4.el6.noarch.rpm
Followed by:
service ovirt-guest-agent start
chkconfig ovirt-guest-agent on
Making a Template
You can make a template of the image to allow easy deployment, this is especially useful if you’ve purchased a site license and want to spin up multiple load balancer’s quickly for your customers.
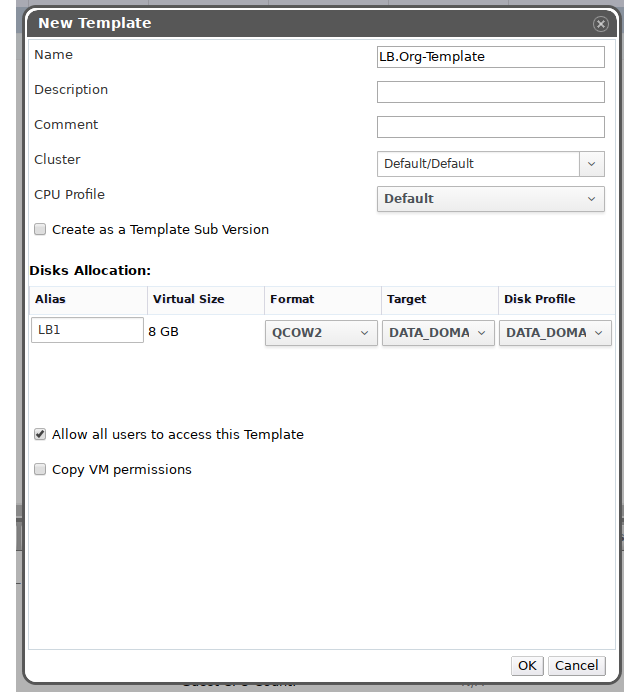
- Select the VM we created earlier and click the “Make Template” button.
- Set the name such as “LB.Org-Template” and any other settings just don’t change the disk “Format” then click “OK”. This will take a while.
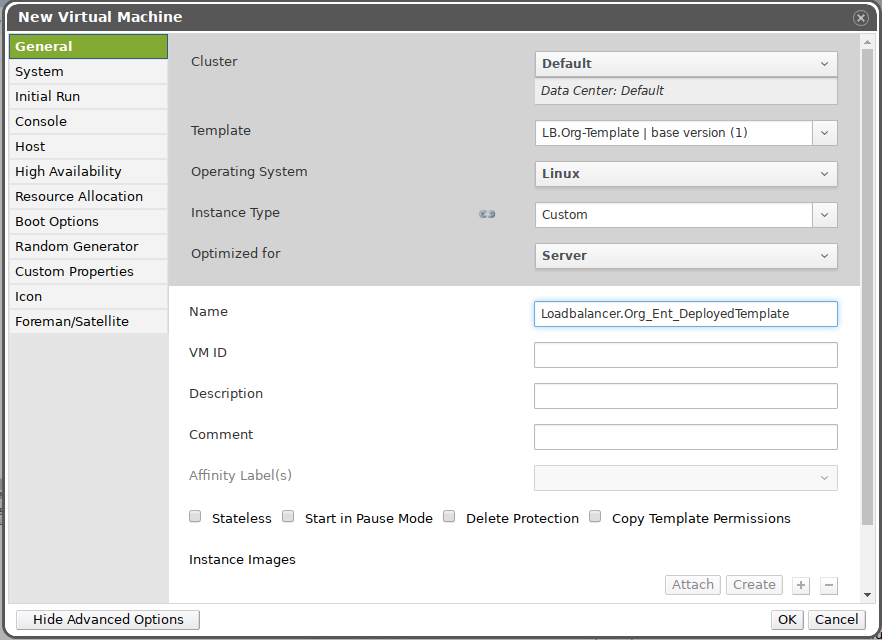
Once the process of making the template has finished, you’re free to use the existing VM again and deploy fresh ones using the template we’ve created.
To summarise, the appliance works quite nicely in a oVirt environment and should work just as well with a full Red Hat’s Enterprise Virtualization environment (RHEV)!
Feel free to try it and comment below should you get any problems or just would like to provide some input.
Further Information
To download a 30 day free trial of the Loadbalancer.org Enterprise VA MAX, visit Loadbalancer.org.
Need help?
Our experts are always here


DelftDI recommends Loadbalancer.org for load balancing critical medical imaging systems

Related posts
Finally, a simple way to convert MaxMind GeoIP Database files to the legacy DAT format!

Optimizing data storage: Using content-length headers to solve the 'small objects problem'
IPv6 and Loadbalancer.org: Finally making friends with those impossibly long addresses

Extending the ModSecurity WAF, with Denial Of Service protection — using HAProxy

Loadbalancer.org announces leadership transition and next phase of growth
ENVOY Proxy versus Loadbalancer.org: Why storage vendors need purpose-built load balancing for S3, NFS, and SMB

Architecting resilient object storage: Delivering multi-site capabilities for HPE with Loadbalancer.org GSLB