
This is a very old blog from 2010 about load balancing Microsoft Threat Management Gateway (TMG). But its still relevant today, as the technique works for lod balancing any modern Web Application Firewall (WAF). TMG was basically a very simple application proxy, and Microsoft very sensibly discontinued it in 2016.
Why?, Because It was rendered pointless when Microsoft finaly made sure all its core server applications should be secure as default.
Still Intersested?
OK, lets head back in time to 2010:
We were looking at Microsoft's new TMG server and load balancing and after a search of the web found there was not really any Guide on how to load balance incoming web connections via two TMG servers to an internal NAT'ed web sever at Layer 4.
The TMG servers are effectively acting as WAFs (Web Application Firewalls) for the incomming traffic. Find out more about why WAFs are scary here.They require the traffic to be transparent (so they can inspect the client source IP address), so layer 4 DR mode is a logical choice. You can find out more about why we love DR mode here.
The main problems were getting the required loopback adapter on the TMG servers to function correctly
So this is how we got it to work:
Please note this is not a guide on how to loadbalance your firewalls for outbound connections where the TMG servers are acting as a reverse proxy / web filter aka. squid (although it would be very similar and that can be discussed in another blog)
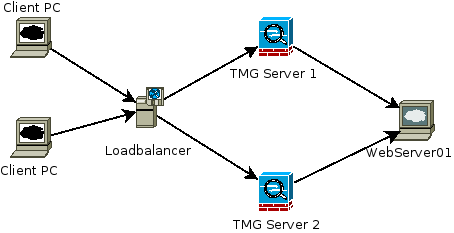
The Network we will build will look like the following where we are loadbalancing the connections between the two TMG servers via a loadbalancer, this is then sent from the TMG Server to the WebServer via a NAT rule.
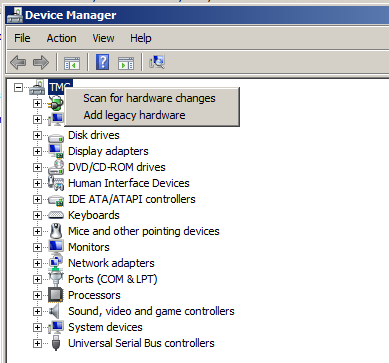
The first step is to Add the loopback adaptors to the TMG servers, this process should be quite trivial but can not be done from the TMG snap-in so here is the instructions step by step.
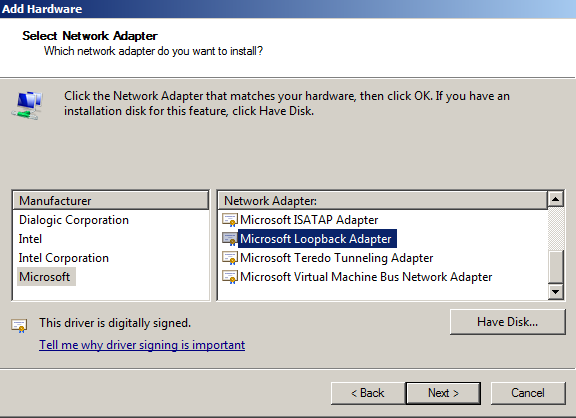
- Add Loopback Adapter to the TMG server. This needs to be done via the Device Manager - Add Legacy Hardware option
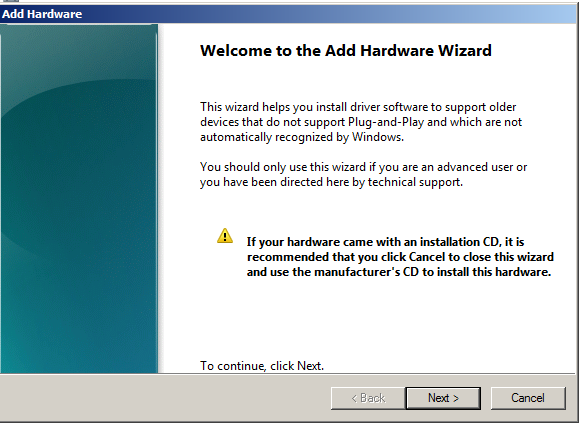
- Follow the Wizard
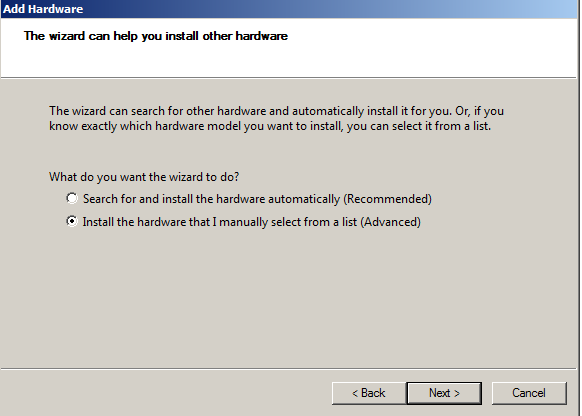
- Select Manual
- Select Microsoft Loopback Adaptor
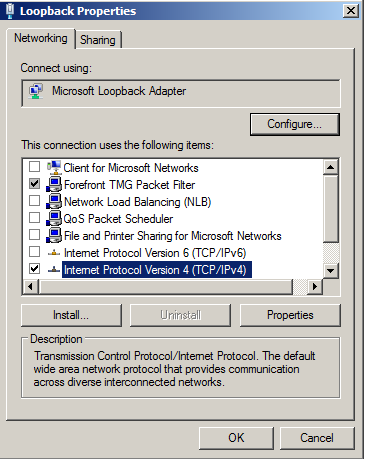
- Once installed, edit the IP address of the loopback Adaptor and remove any unneeded services
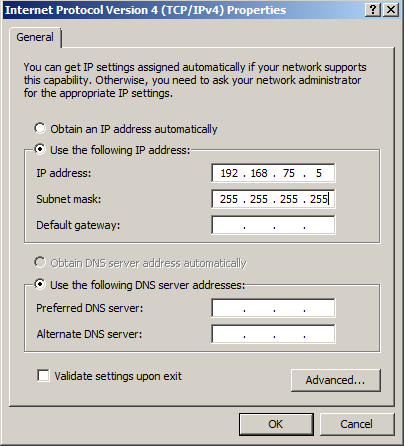
- Assigned the VIP address to the Loopback, the subnet mask should be a /32 (this can be edited in TMG but it does not allow a /32 there so we do it here)
- TMG does not find this interface right away so a reboot of the TMG server is needed.
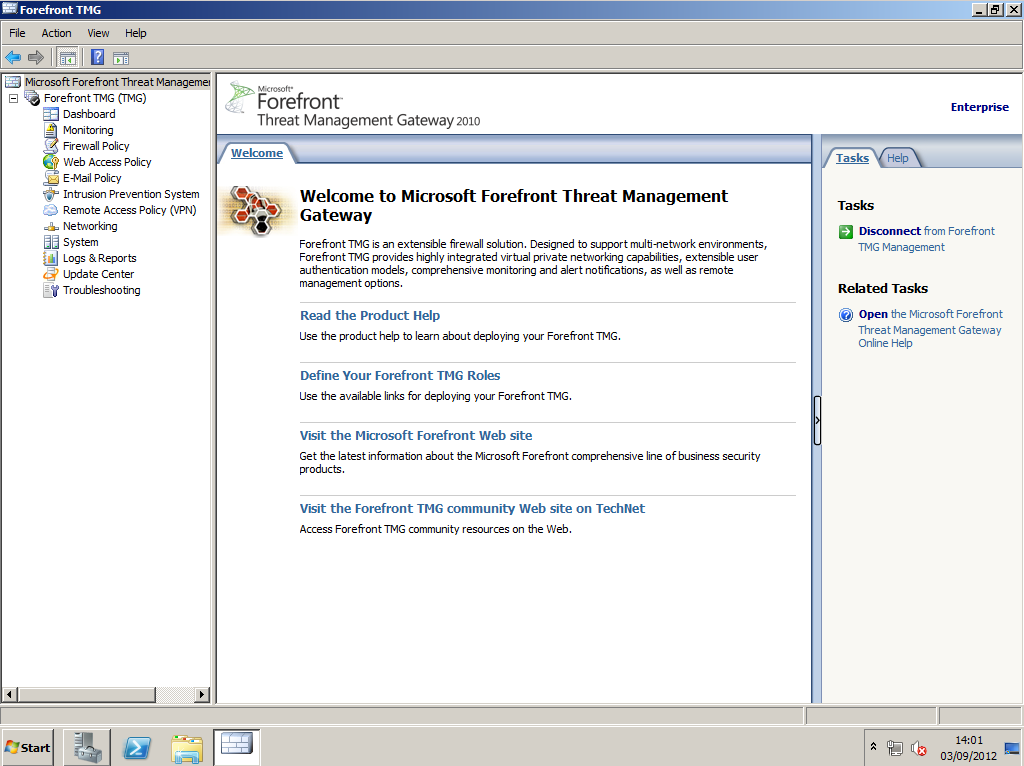
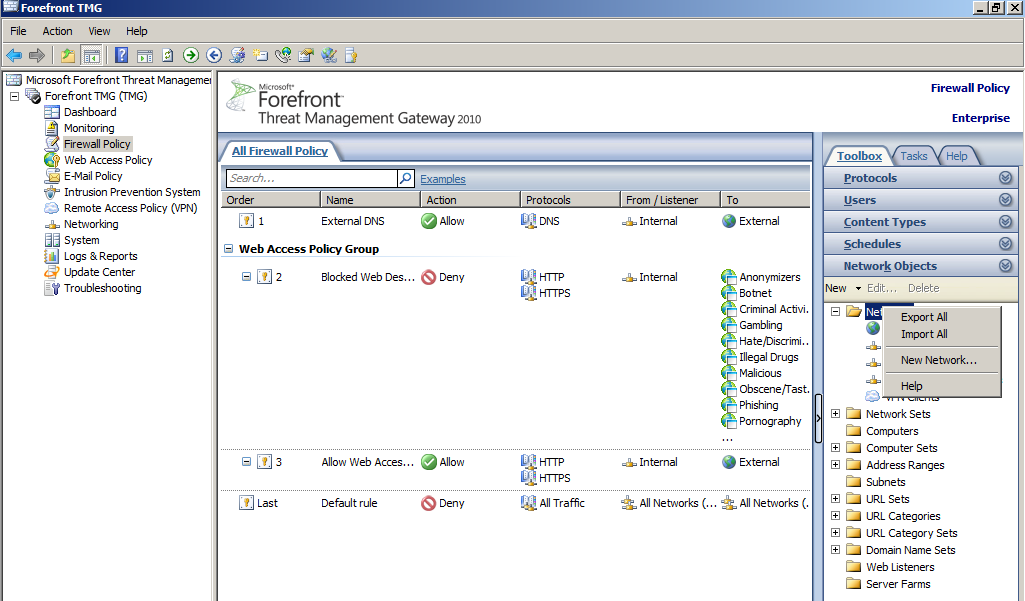
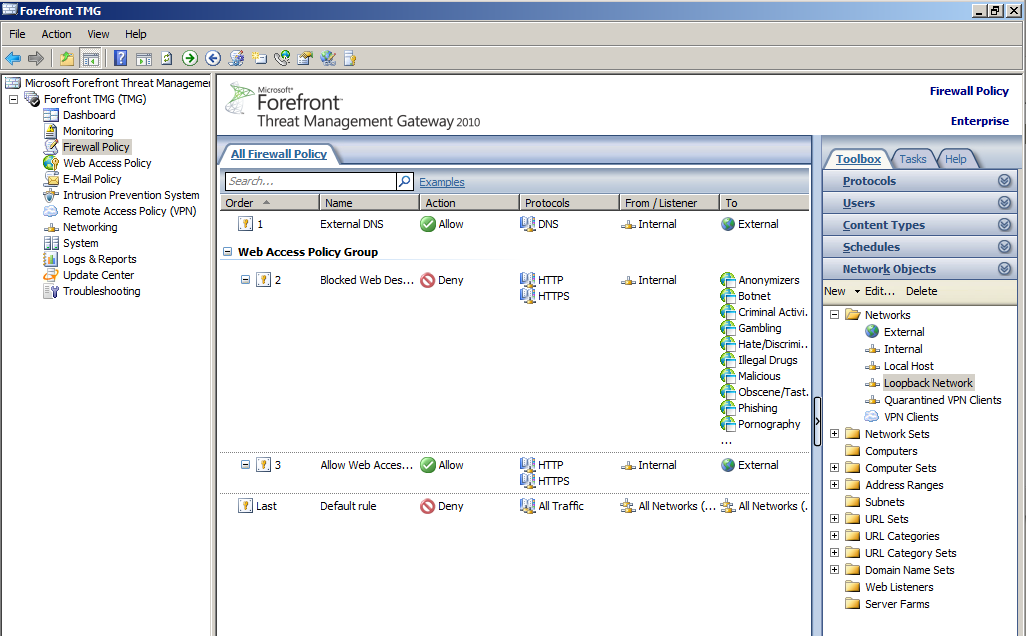
- We now need to create a network Object for the new Adaptor, to do this we do the following Access the TMG Snap-in
- Click on Toolbox on the right hand side, then Network objects, once their right click on Networks, and then New Network...
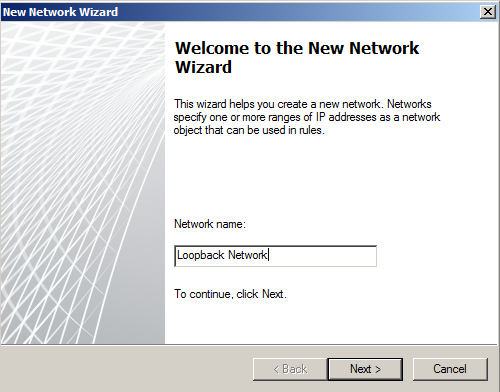
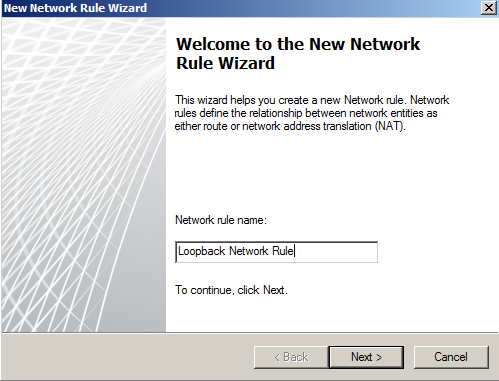
- Name the new Network
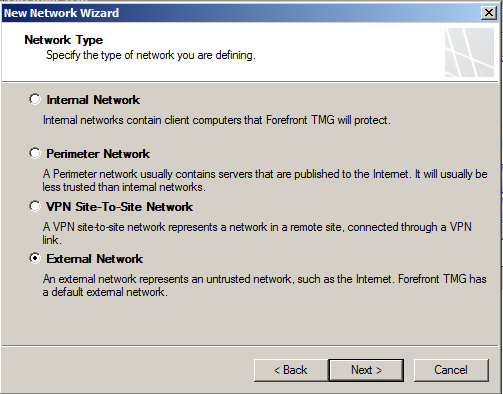
- Select Perimeter for the network type, as this will be internet facing
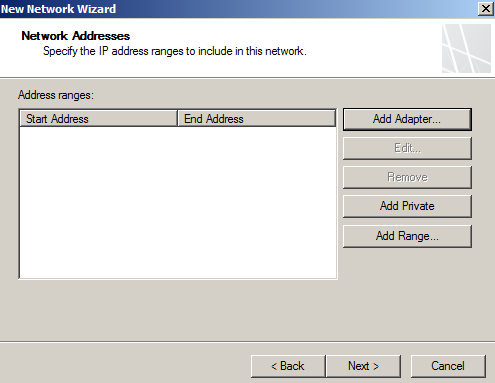
- Now we add the ip assigned, so click on Add Adaptor and add the loopback.
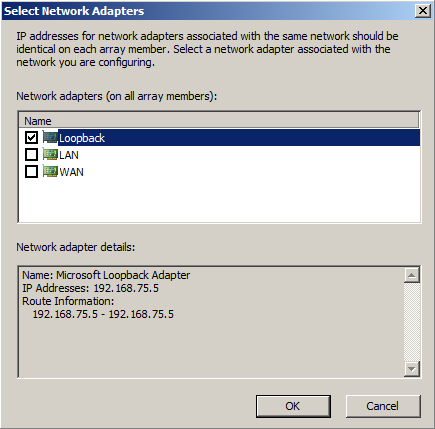
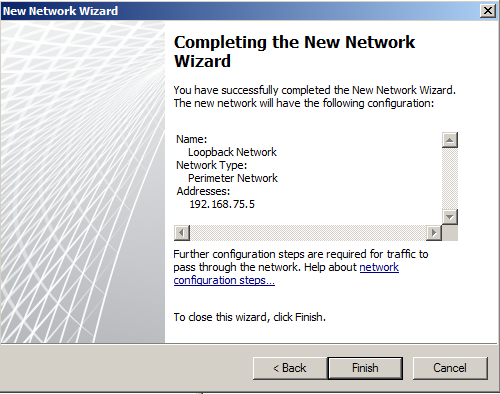
You should then be left with this

- click finish
- Apply the change
- Click on Networks, then Network Rules
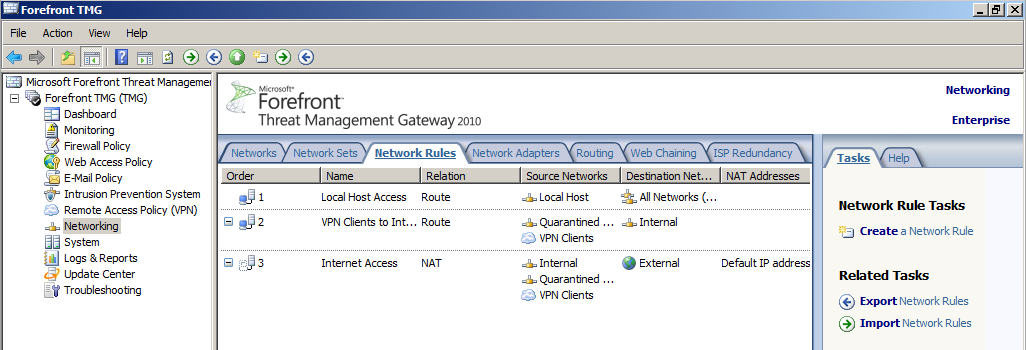
- Click on Create a Network Rule
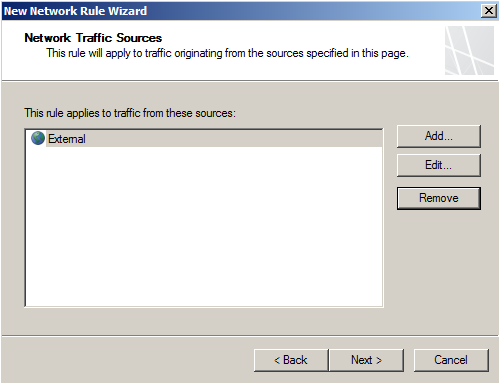
- Add the traffic sources
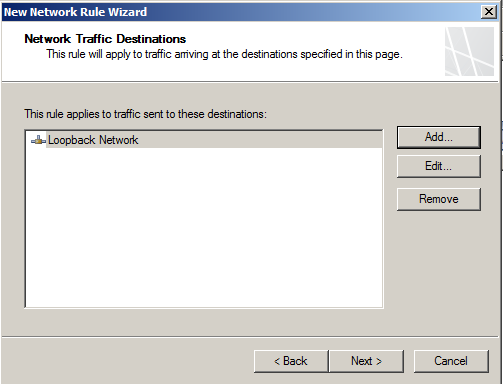
- Add a destination
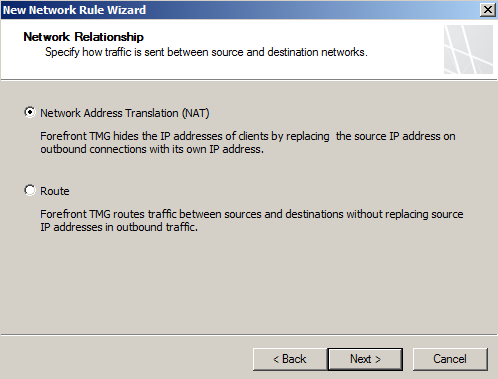
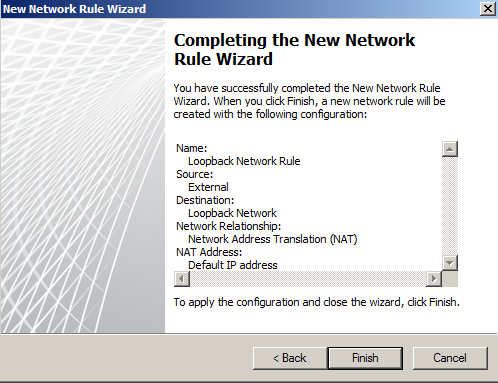
- Set the Network Relationship to NAT
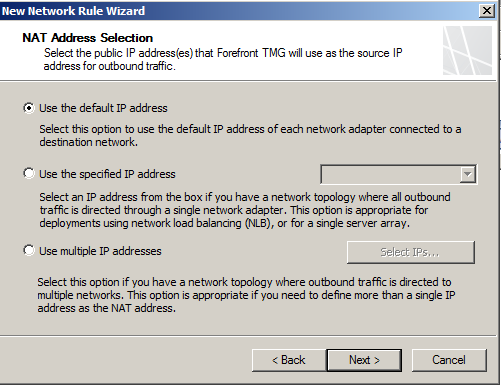
- Leave the IP selection as default
- Thats it for the Network Rules
Now apply the settings.
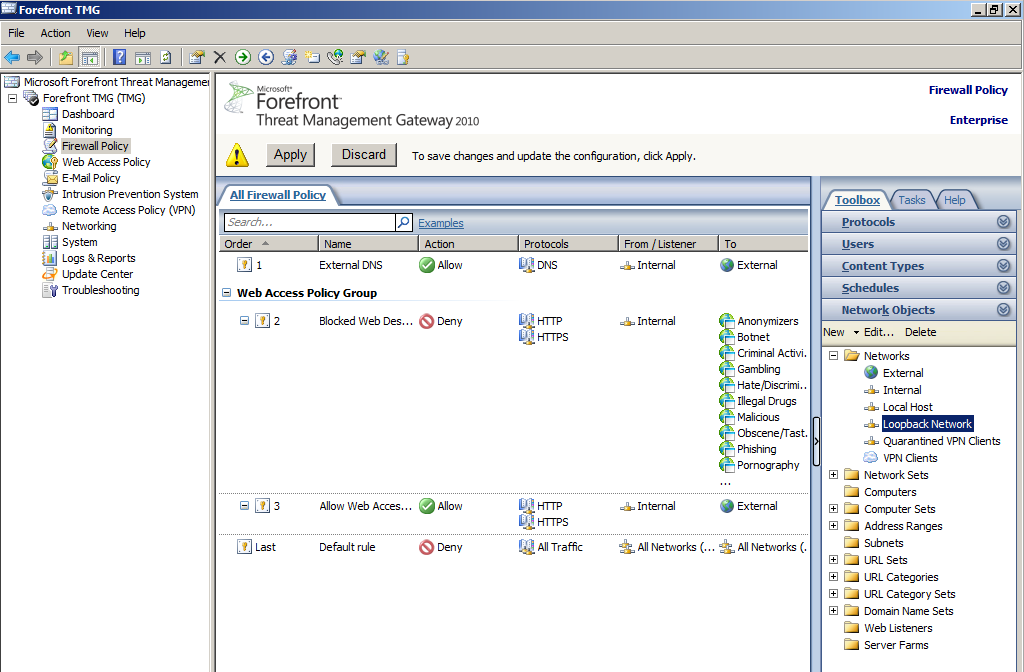
Next we need to configure the Firewall Rules and Listener - Go to Firewall Policy
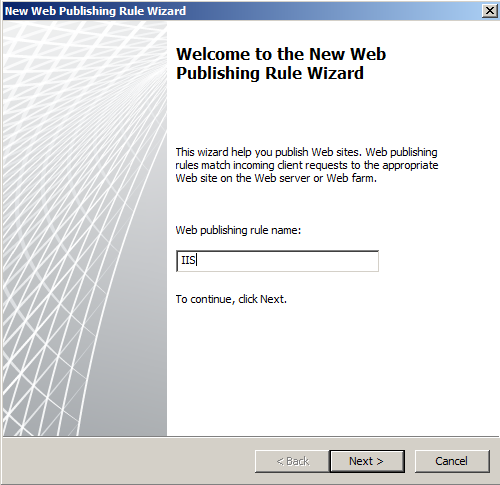
- Click Publish Web Site, and name the new Rule
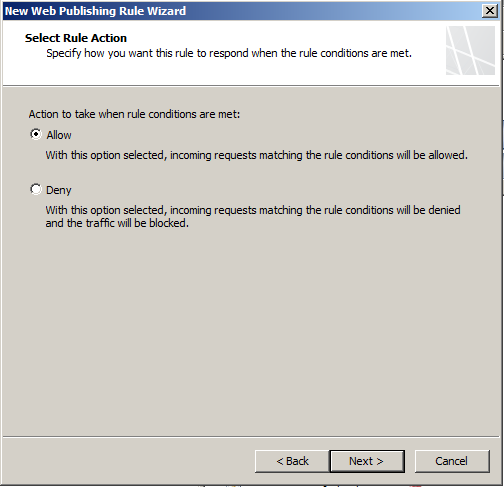
- Allow the connections
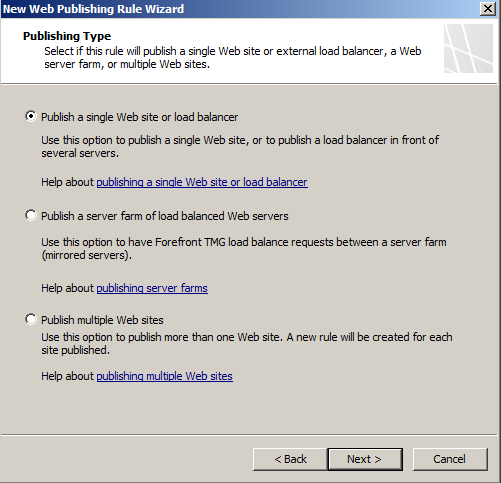
- Now select what you would like to publish in my case its a single IIS site running on the DC (this is a test lab, in a production setup it would be its own server)
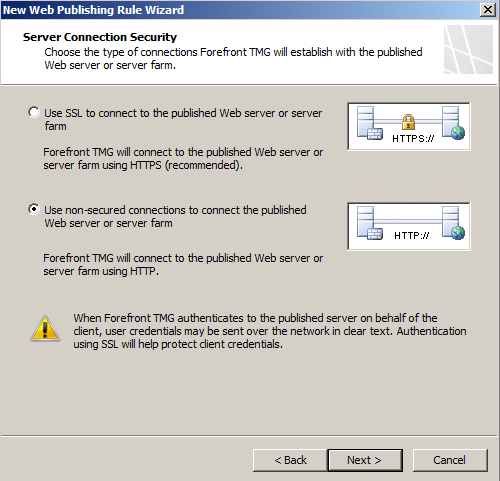
- Select HTTP (you can use HTTPS but in my lab its just http)
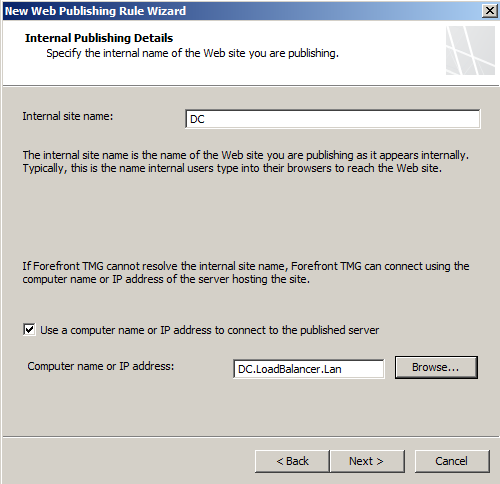
- Enter the server that is hosting the Site, in my lab its the DC
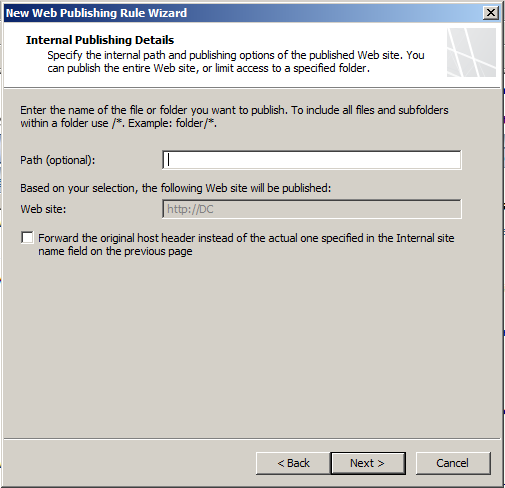
- Next is the path. i left this as default
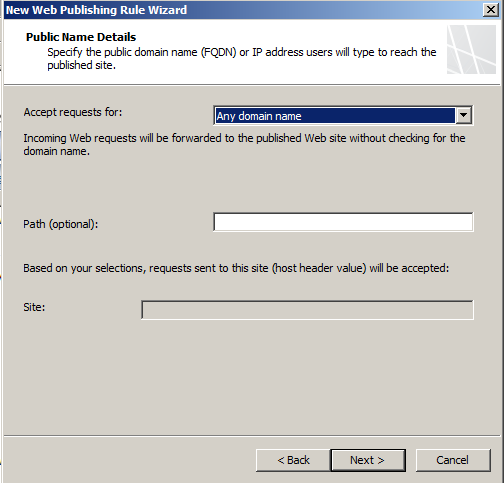
- next setup the URLs to be accepted, I set this to allow all.
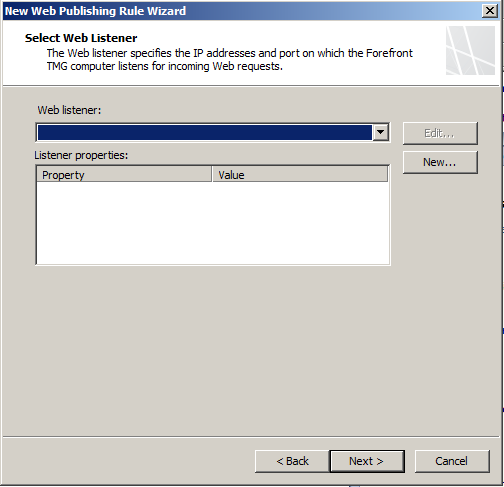
- Now we configure a Web Listner, so click on new
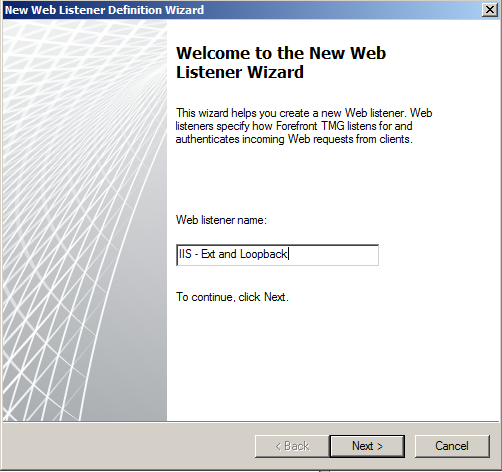
- Now name your new listen, I called mine IIS - Ext and Loopback as it will listen to Ext and Loopback networks
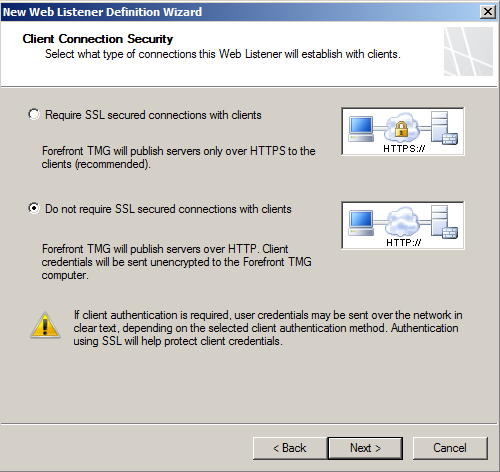
- Select HTTP so this will listen for HTTP traffic
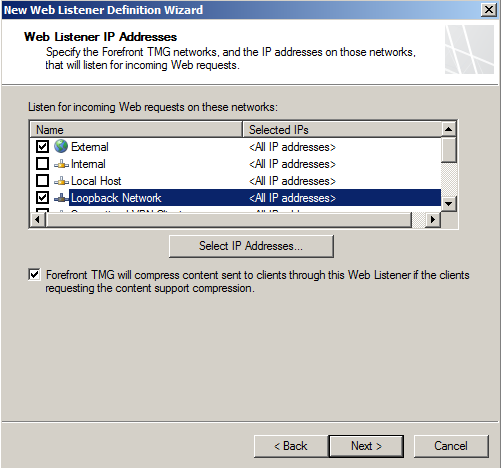
- Next Select the networks that the listner should listen on.
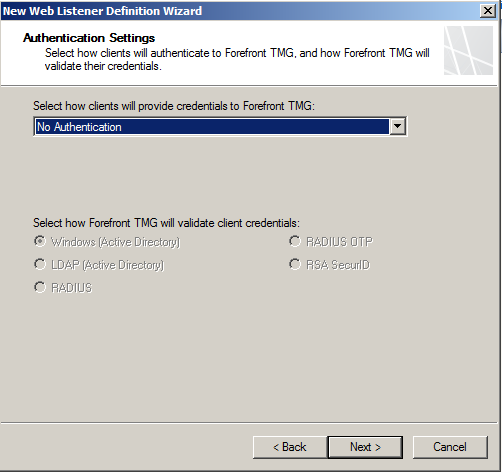
- Set the Auth as required, I use No Auth in my example
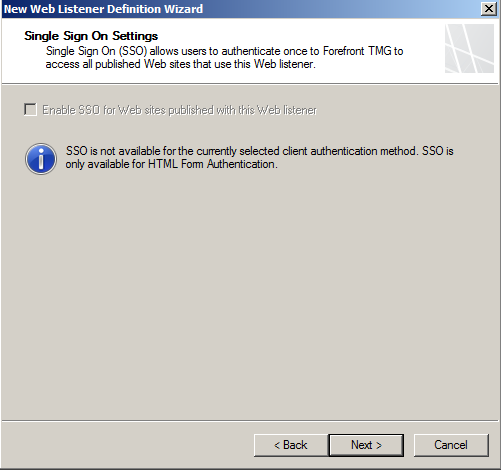
- Next SSO if you use it, I dont
- That is all for the Listener
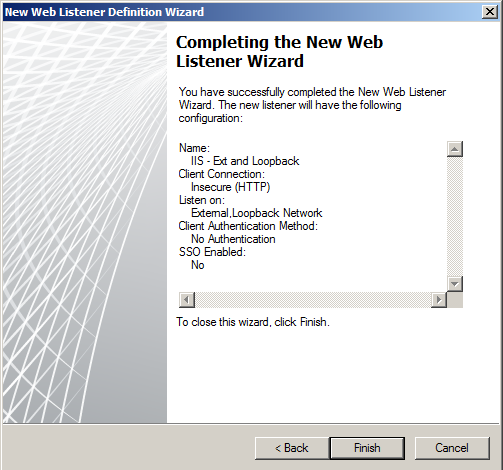
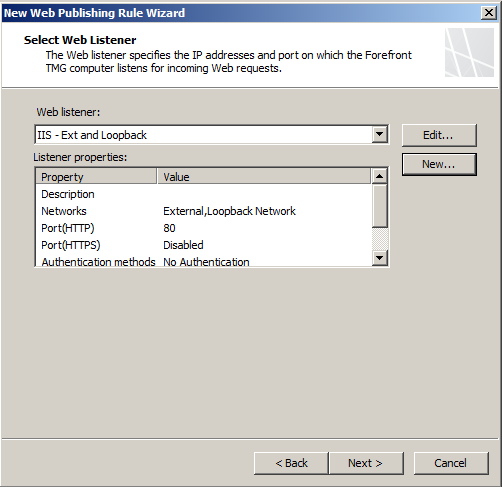
- your listener box should now look like this
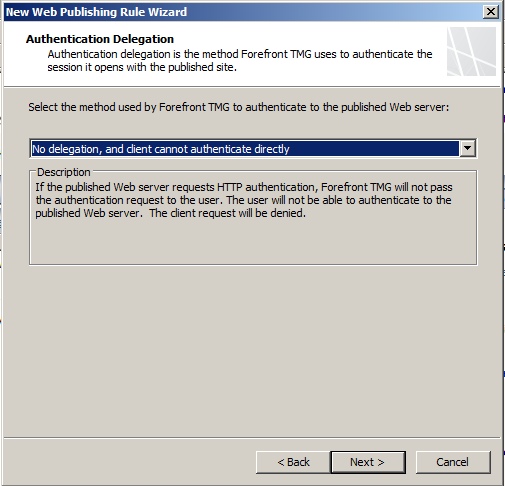
- Leave the Auth Delegation as defaults.
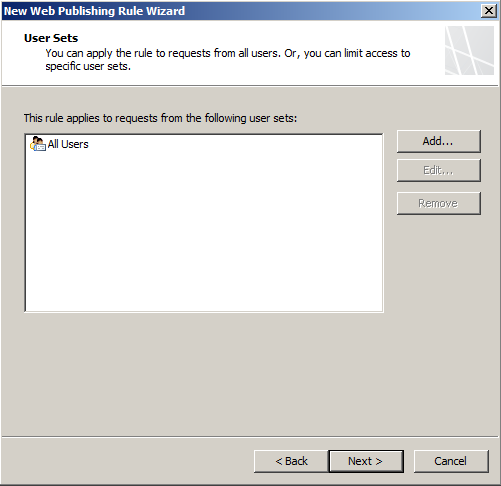
- Set the users who can access this, I left it as default
- That should be it for the rules.

- Apply the new settings

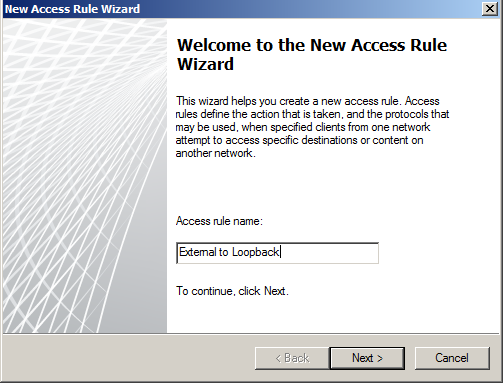
- Now we need to setup a rule to allow External Traffic to the Loopback via the firewall, so add a new access rule
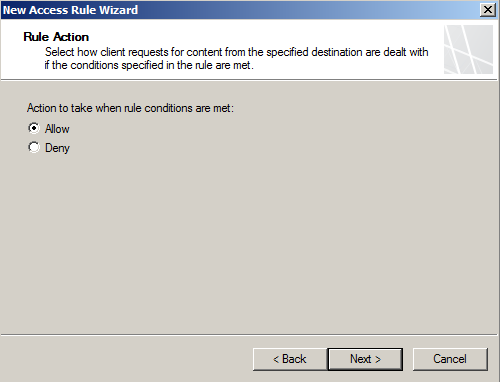
- Allow the Rule
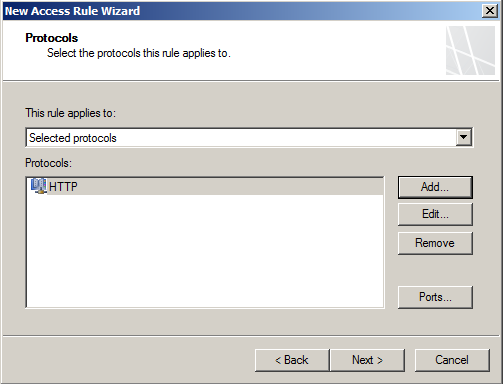
- Add the correct protocols
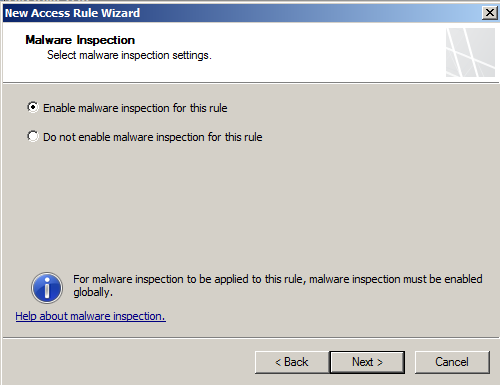
- Enable Malware Scanning
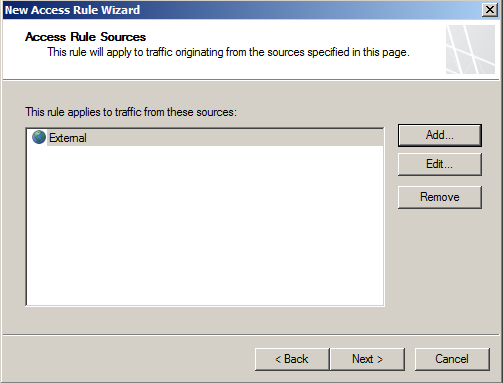
- Select the External as source network
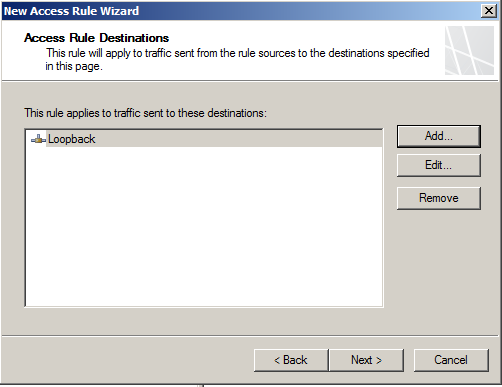
- Select Loopback as the destination network
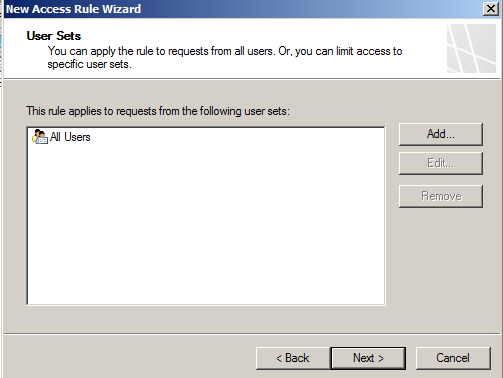
- Allow all users access to this rule
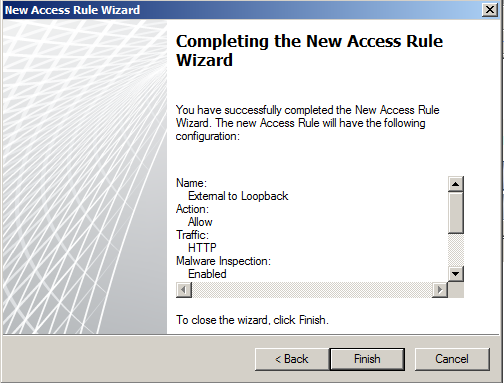
- Finalise the rule
- Apply settings and you should be done
